User:SoloSniper
Note: Feel free to copy/use anything from here that you want :)
You can access my area from Spawn > Shops > XVIII > Cheap Technic
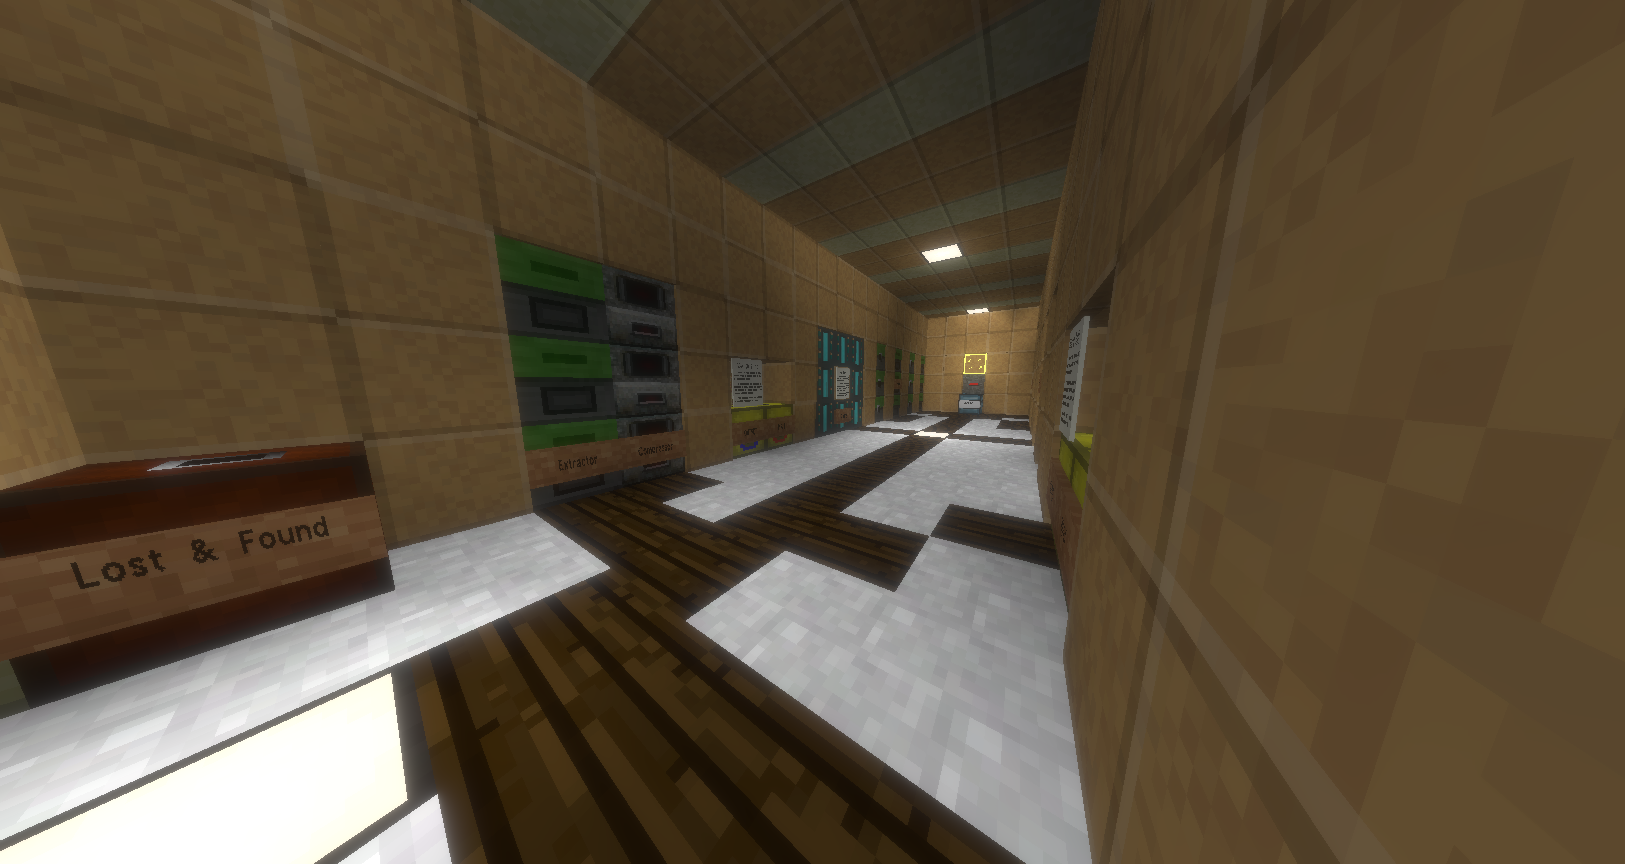
Public Workshop
Includes Grinding, Smelting, Extracting, Alloying, Compressing and Charging.
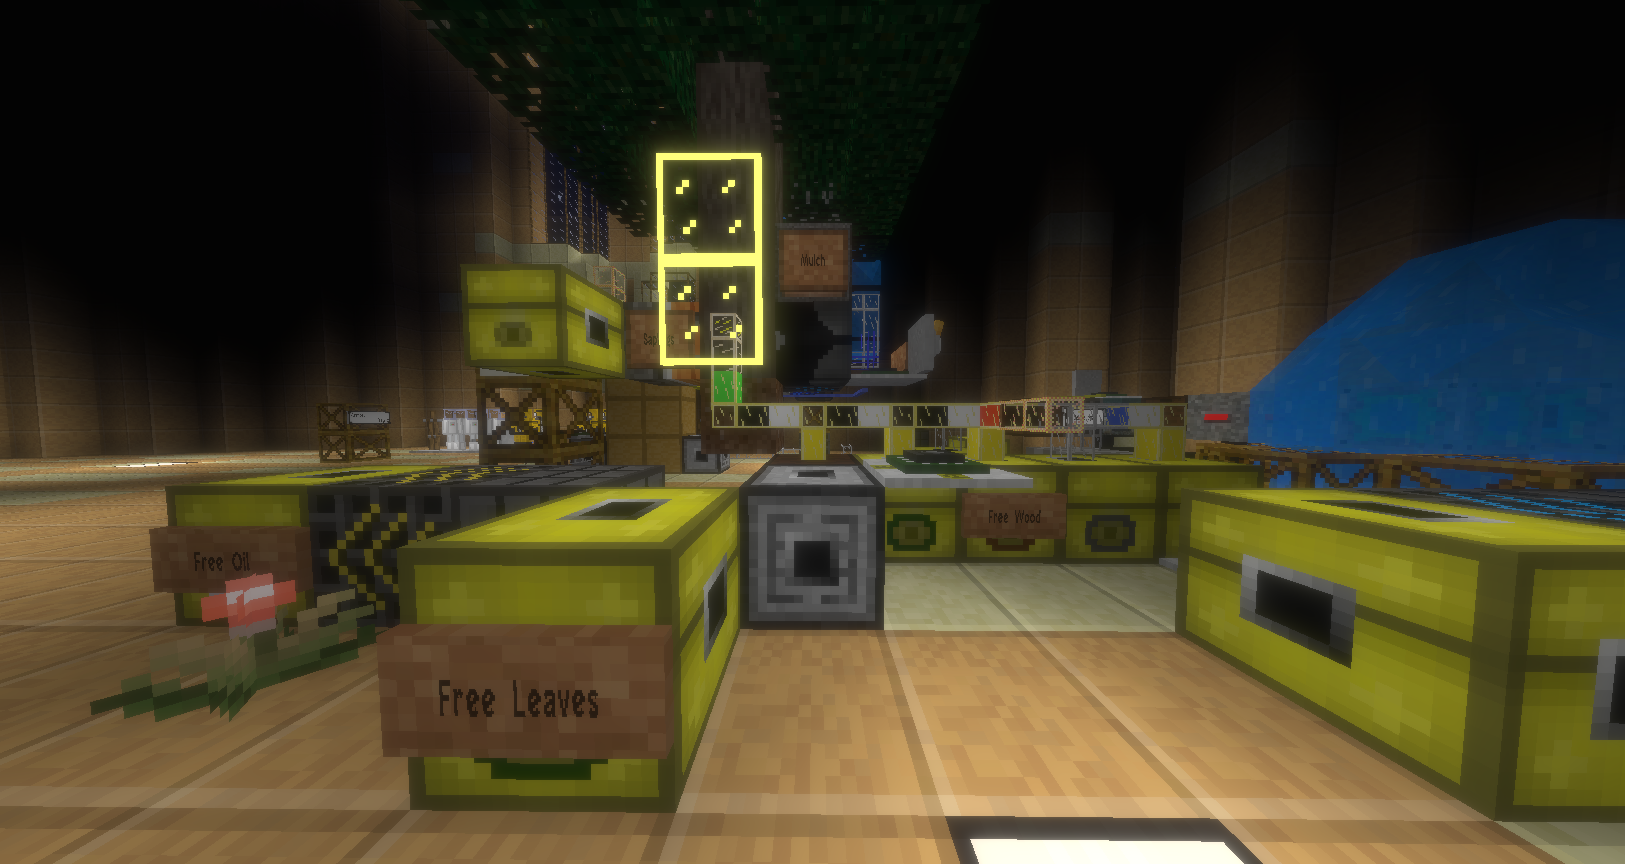
Public Tree Farm
Includes free oil, Pine logs, Pine leaves, Pine saplings.
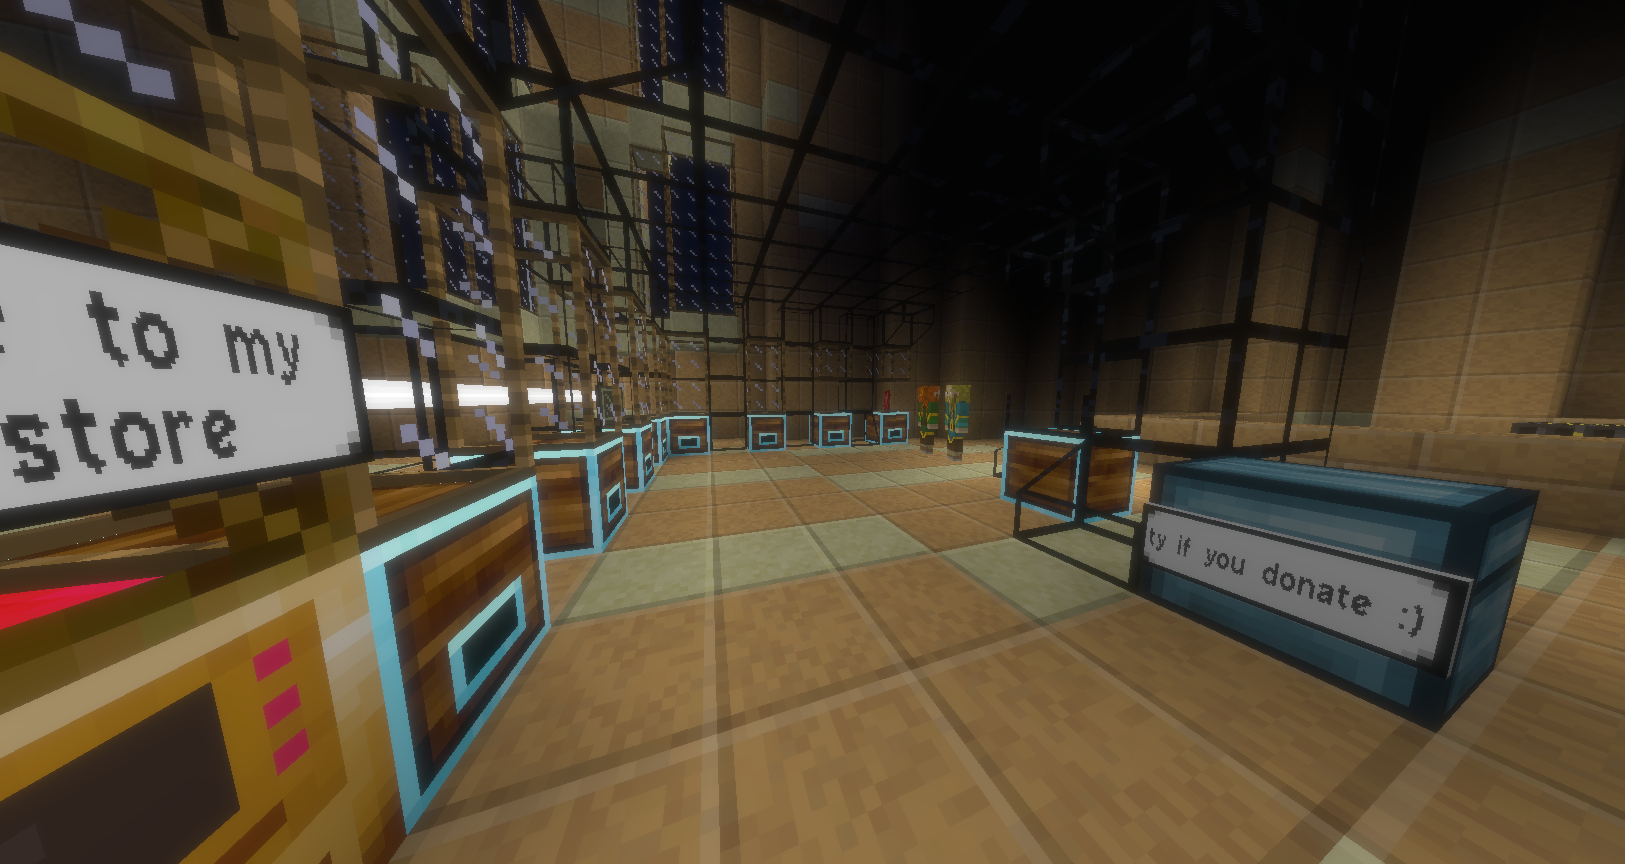
Technic Shop
Cheap HV solar, silicon, hydros, HV quarries, switching stations & more.
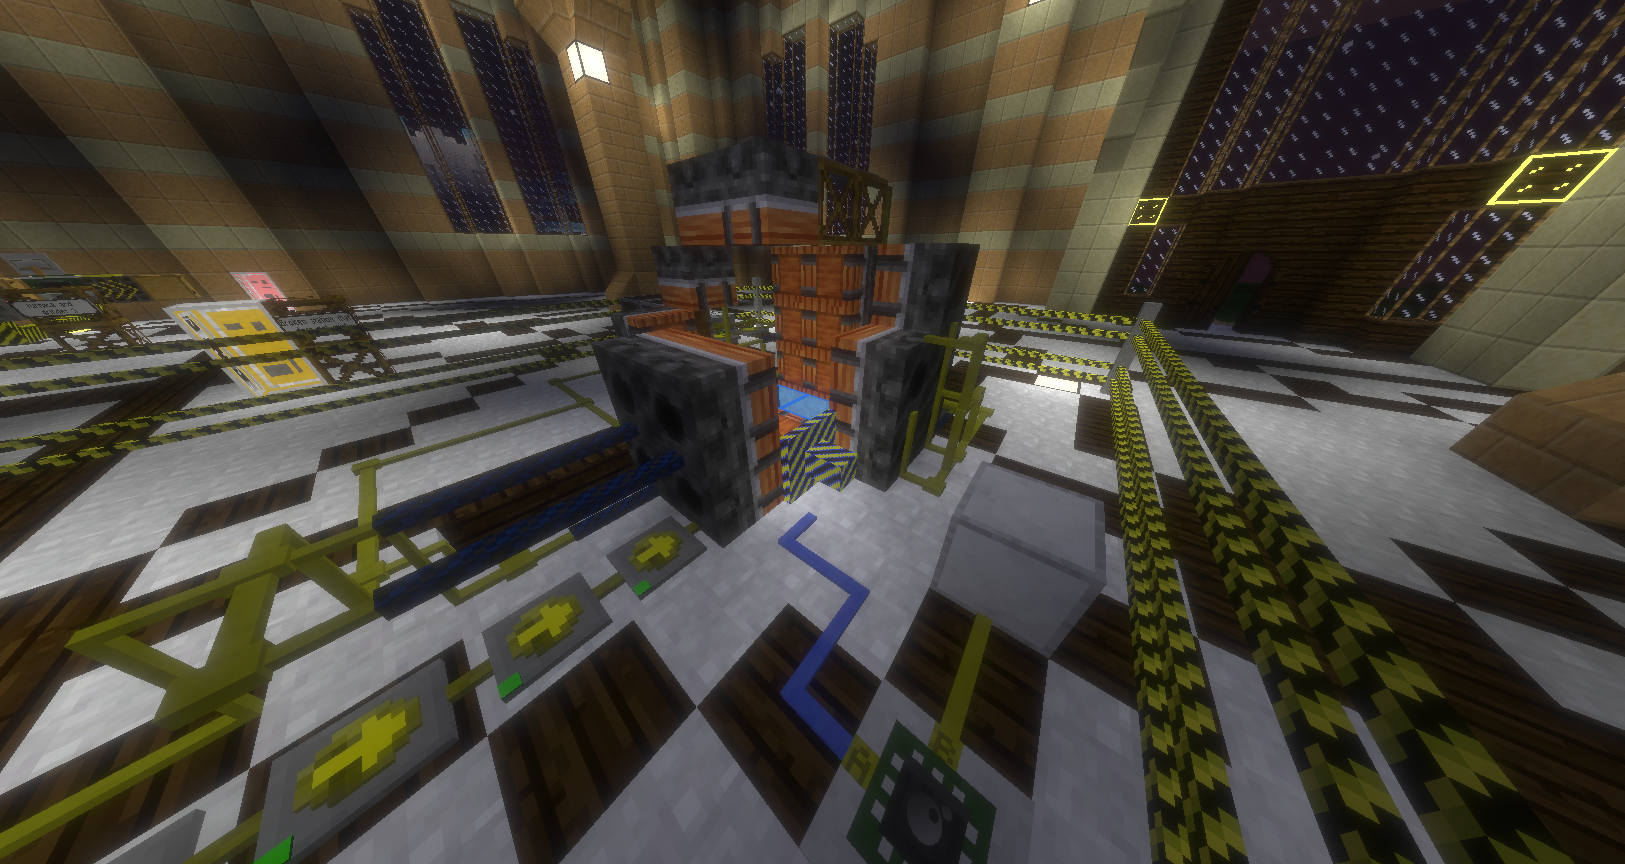
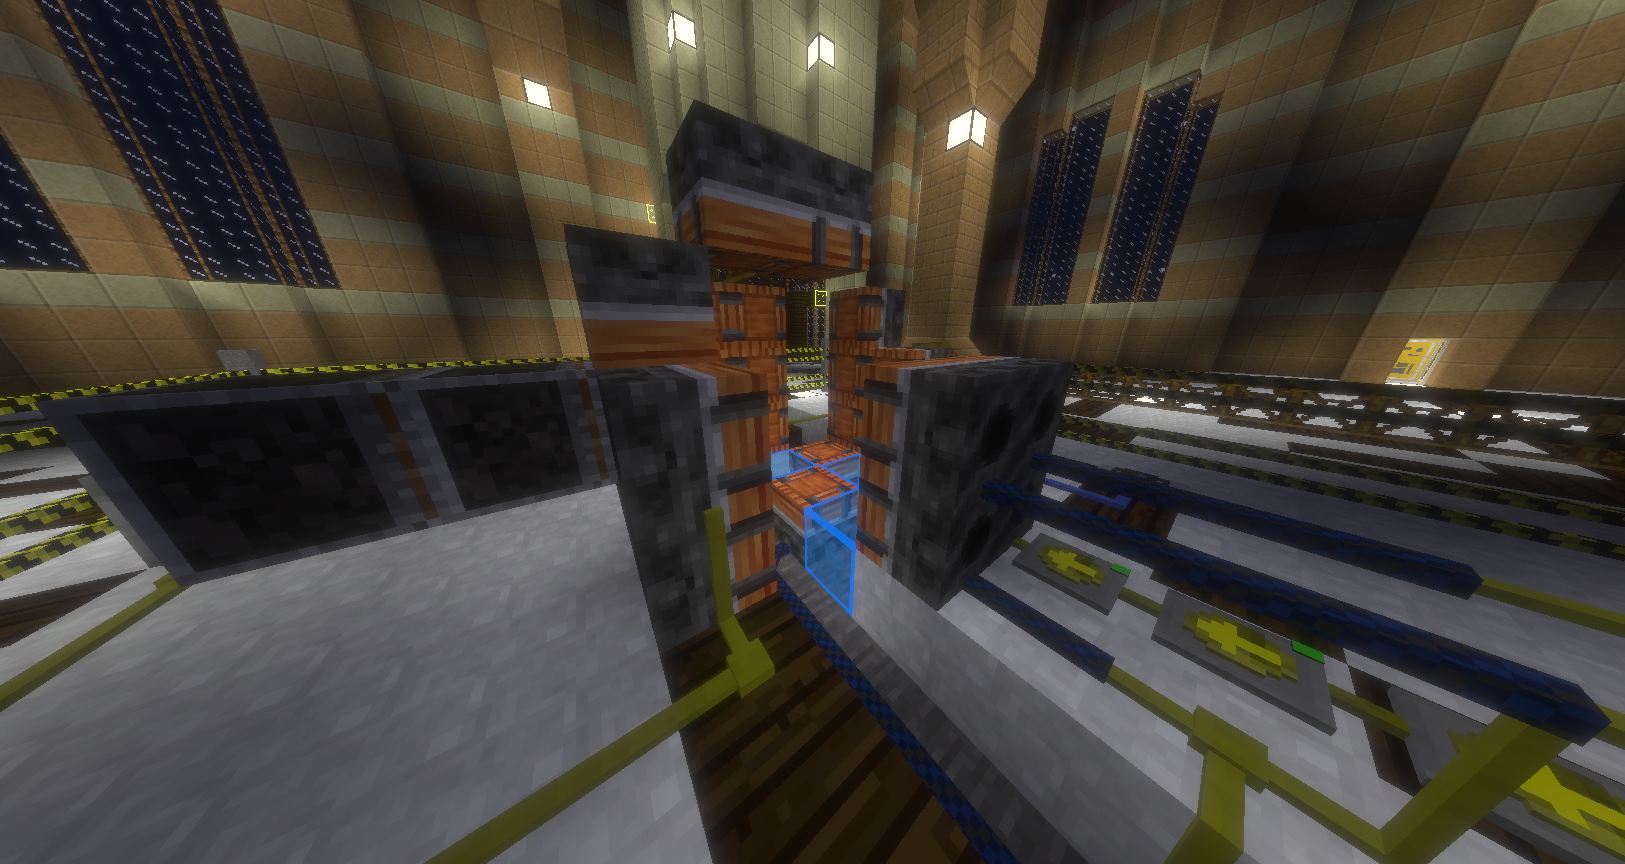
R1 Printer, first draft
This was my first attempt at making a "Radius 1" printer. Or in other words; an automated machine for building Radius 1 Jumpdrive ships with all the necessary blocks in the correct place, then jumping it to another area so that the machine can continue "printing" R1's.
How it worked
For my first Printer, I utilized the Deployer node for placing all the blocks, and simply powered them in order using Mesecons. For the auto-transportation, I made it so two of the HV Cables that get printed, are Digiline HV Cable instead. This way I could use a Mesecon Node Detector to Detect if the last block has been placed, then send a signal to the Digi-Cable, which are connected to the JD, to say "Set radius to this, and jump to here.".
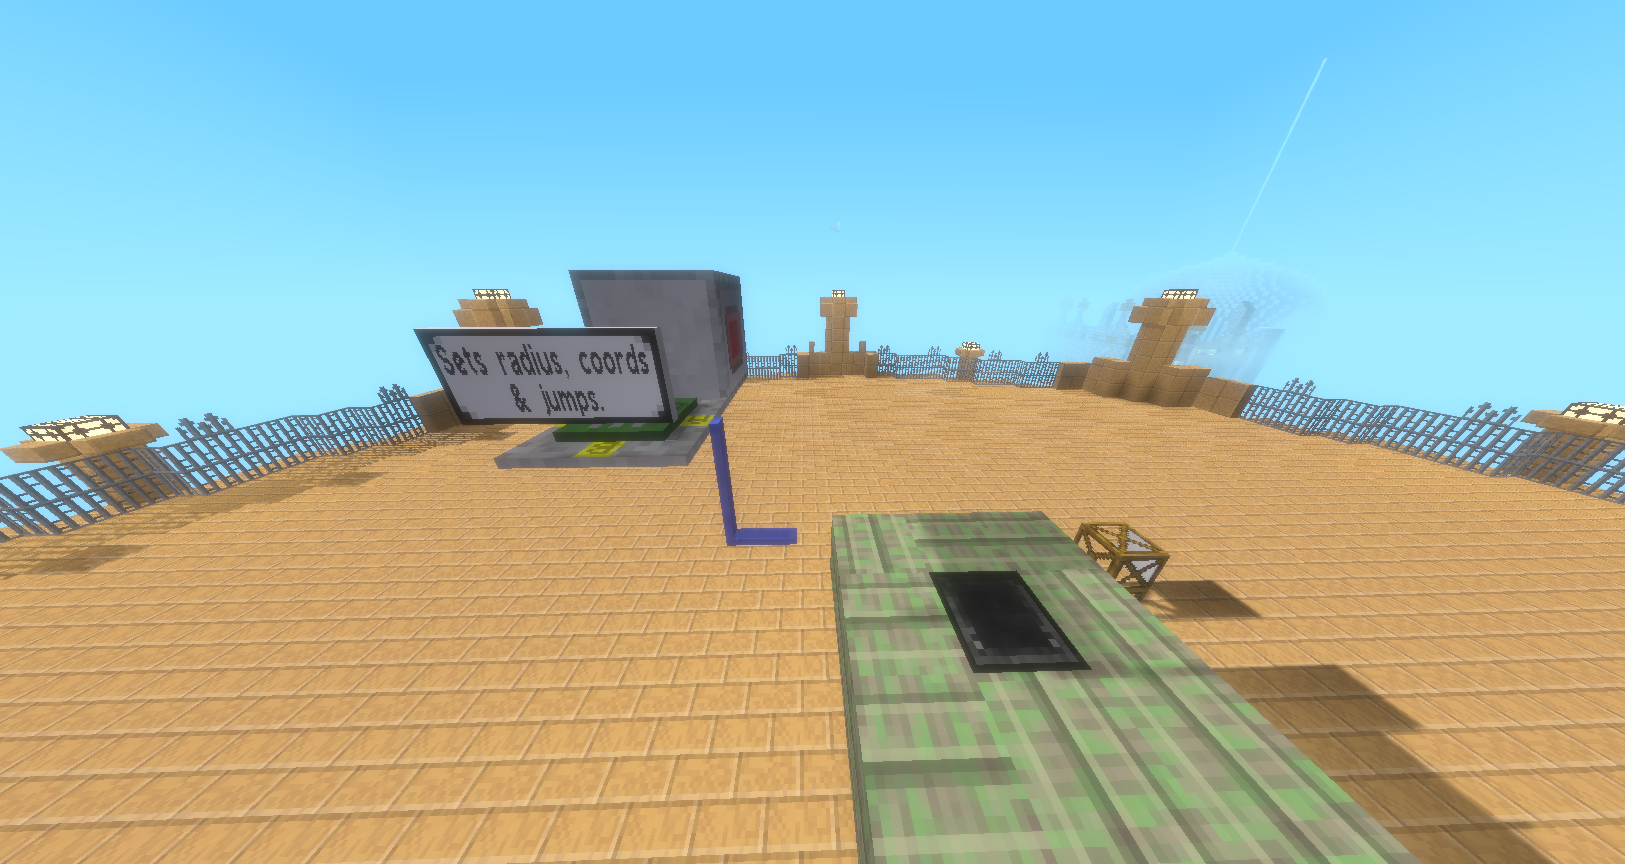
To setup the auto-transportation, all I did was threw some code in a Lua Controller which said, "If port B is on, then do this". (This assumes that port B is the one that the Node Detector is attached to). Then simply connected it with Digiline to the area which the Digi-Cable will spawn in.
   if event.type == "on" and event.pin.name == "B" then -- Change to respective port
       digiline_send("jumpdrive", { command = "set", x = INSERT_X, y = INSERT_Y, z = INSERT_Z, r = 1, formupdate = true }) -- Change INSERT_XYZ to desired destination
       digiline_send("jumpdrive", { command = "jump" })
   end
Problems & Solutions
This was of course not as simple as it sounds. One of the problems I ran into was that it did not have time to charge before jumping, this was fixed by a row of delayers (Janky, but worked). Another problem was the JD itself. As you know the JD has to be in the middle of the R1, this means that either; I would have to create some system of using one Deployer to place another, and then use a pipe to feed a JD into it, so that a Mesecon could power it. Not to mention the unconventional Mesecons I would have to setup for all the delays between steps.
Even this would have issues though, like your R1 having a random Deployer on it, or the special placing for putting the Deployer in the right rotation. There are ways around all of this with different ways of automation and tedium, but luckily we have a simpler solution which I somehow thought of.
The way I got around this, was with what in Minecraft, is known as a "Double Piston Extender". It is a simple setup of two pistons, together, and pointing in same direction. First the one is the back in powered, then the one in the front, causing one piston to be pushed forward, and the one it pushes, extending as to push the block in front out as well. Additionally, if you use a Sticky Piston as the first one, it will retract back to the original position. Utilizing the double piston extender, all we have to do is place a Deployer on one of the sides, facing in toward the piston that is in front, then by powering in chronological order, the Deployer, the first piston, and the second piston, after which retracting them both, you have a floating JD in the prefect spot!
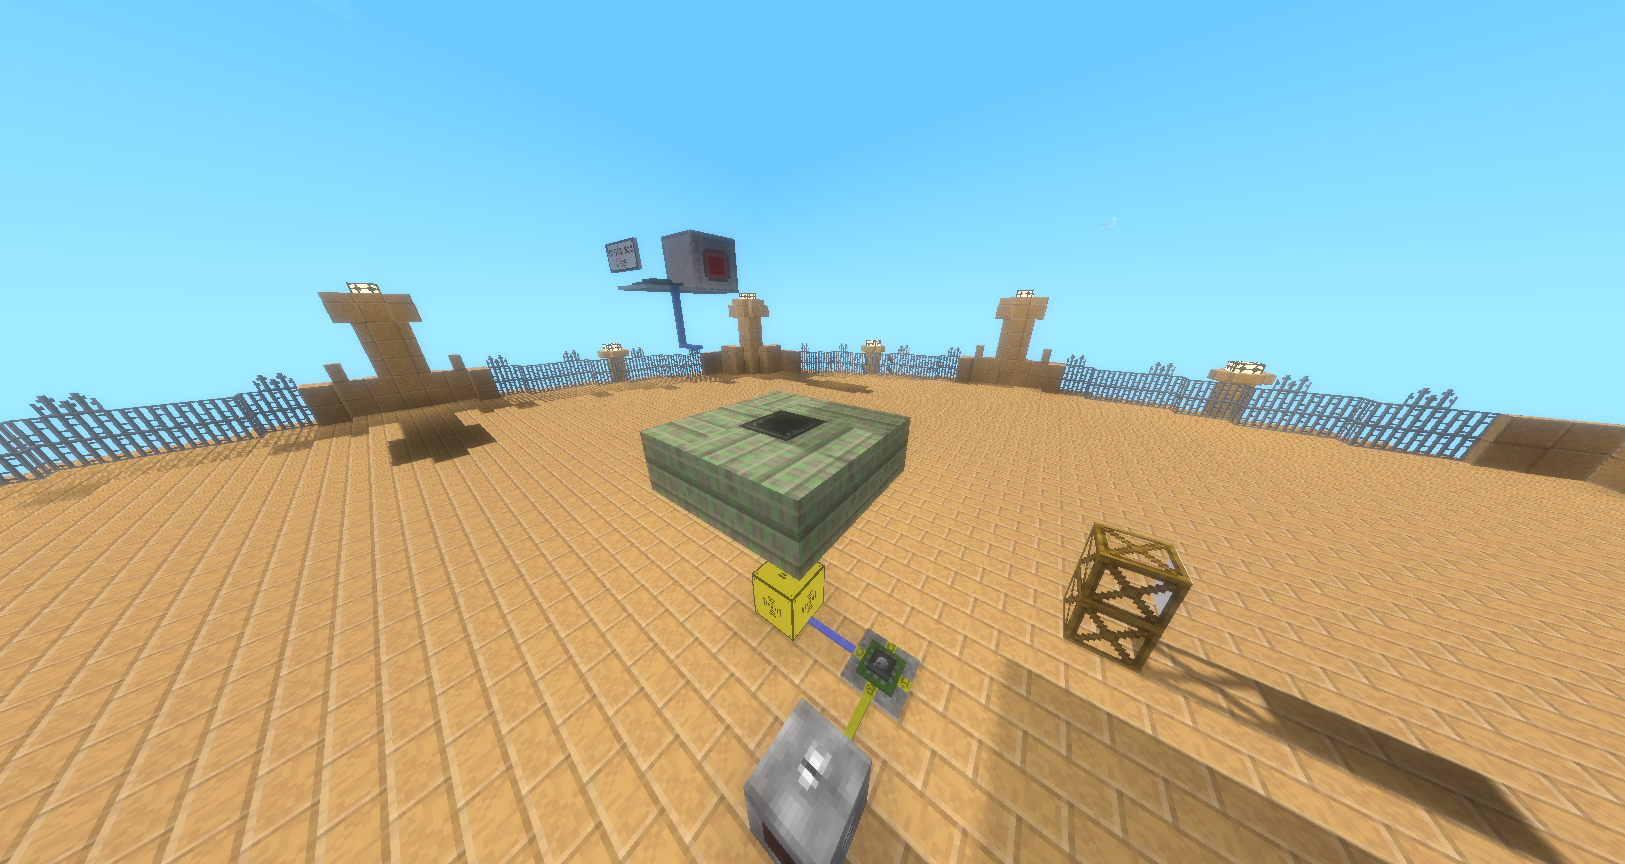
R1 Printer, finished version
This was my second attempt at making a more efficient version of the R1 Printer.
How it worked
For this version, I made use of the Digibuilder node to place all the R1's blocks, and utilized the same method of auto-transportation that I did with the first draft.
Setting up the Digibuilder is simple, you put the blocks you want placed inside of the Digibuilder, then use a Lua Controller to write the code that tells the Digibuilder where to place the blocks. Here's the code I built for my R1 Printer. The Digibuilder places the blocks relative to itself.
   -- Code written by SoloSniper
   -- Code sources: BuckarooBanzai, MCLV, AceRichman,  SX
   -- list of setnode commands
   local a = "technic:hv_cable"
   local data = {
       { name = "a", pos = { x = 0, y = 6, z = -1 } },
       { name = "travelnet:travelnet", pos = { x = 0, y = 6, z = -1 } },
       { name = "technic:hv_digi_cable", up = true, pos = { x = 0, y = 4, z = 0 } },
       { name = a, up = true, pos = { x = -1, y = 4, z = 0 } },
       { name = "technic:hv_digi_cable", up = true, pos = { x = 1, y = 4, z = 0 } },
       { name = a, up = true, pos = { x = 1, y = 4, z = 1 } },
       { name = a, up = true, pos = { x = 0, y = 4, z = 1 } },
       { name = a, up = true, pos = { x = -1, y = 4, z = 1 } },
       { name = "technic:hv_solar_array", pos = { x = -1, y = 6, z = 0 } },
       { name = "technic:hv_solar_array", pos = { x = 1, y = 6, z = 0 } },
       { name = "technic:hv_battery_box0", pos = { x = 1, y = 6, z = 1 } },
       { name = "technic:switching_station", pos = { x = 0, y = 6, z = 1 } },
       { name = "technic:hv_battery_box0",pos = { x = -1, y = 6, z = 1 } },
       { name = "protector:protect2", down = true, pos = { x = 1, y = 8, z = -1 } },
       { name = "geocache:block", pos = { x = 1, y = 5, z = -1 } },
       { name = "jumpdrive:engine", pos = { x = 0, y = 6, z = 0 } },
       { name = "beacon:red", west = true, pos = { x = 0, y = 5, z = -1 } },
       { name = "more_chests:wifi", pos = { x = -1, y = 6, z = -1 } },
       { name = "technic:gold_protected_chest", pos = { x = 1, y = 6, z = -1 } }


   }
   -- Will only start if port.b is on.
   -- initial start
   if event.type == "program" then
       mem.pos = 1
     if pin.b then interrupt(1) end
   end

   -- timer interrupt
   if event.type == "interrupt" then
       local entry = data[mem.pos]
       if not entry then
           -- done
           return
       end

       entry.command = "setnode"
       digiline_send("digibuilder", entry)
   end

   -- callback from digibuilder node
   if event.type == "digiline" and event.channel == "digibuilder" then
       if event.error then
           -- error state
           error(event.message)
       end

       -- next command
       mem.pos = mem.pos + 1
     if pin.b then interrupt(1) end
     end

   if event.type == "on" and event.pin.name == "B" then -- Change to whichever port you want to use for a toggle
       mem.pos = 1
       interrupt(1)
   end
Problems & Solutions
The main issue was with the Travelnet. For some reason when the Travelnet was placed by the Digibuilder, it also places an invisible, unpointable, unbreakable node adjacent to the top of the Travelnet, depending on what rotation is specified in setnode command. The only way around this I found, was to make the Travelnet in the correct rotation relative to which side of the JD it's being placed on, as to generate the invisible block outside of the JD's radius. So that when I jump the R1, it gets left behind, to be replaced by the next generated invisible block.
Another issue is Mapblock borders, make sure to build the whole thing in one Mapblock or you will be deeply sorrowed. (There are too many issues to name regarding Mapblock borders).
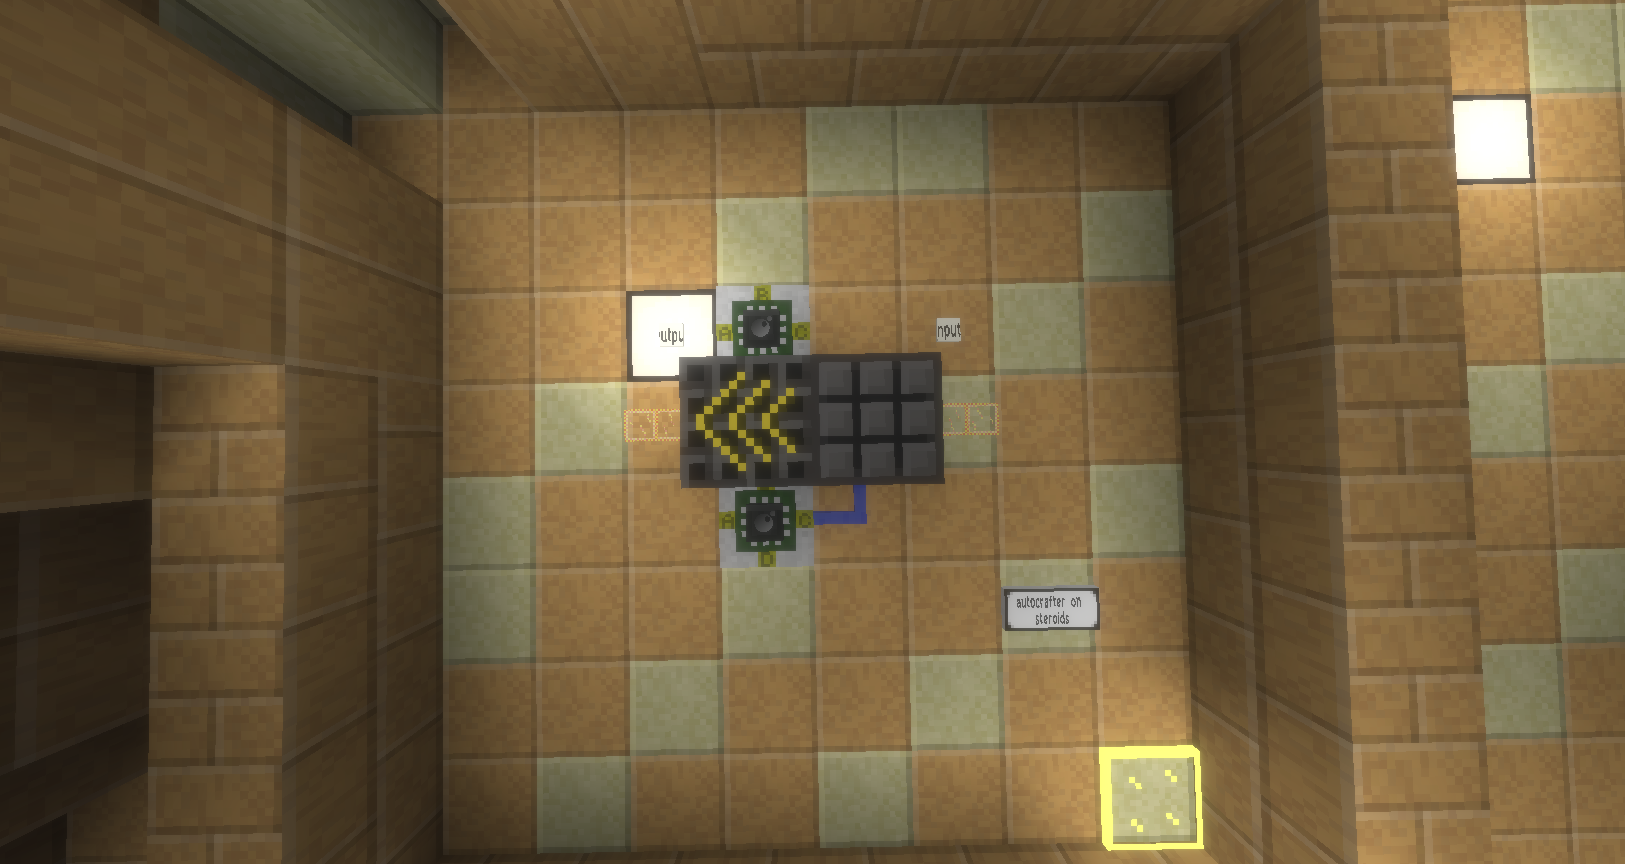
Faster Autocrafting
This is a way to cause the Autocrafter to craft as many as it is capable of at once. The original design was made by TK423, later I took his code and set up a simple way to automate the input/output.
The code in the top LuaC
   pin.a = true
   if pin.a then
       port.d = not pin.d
       interrupt(0.5)
   end

   -- This simply sends a signal to the injector every so often
   -- (You can change it on line 4)
   -- Also no on/off functionality :(

   Remove this line to start
The code in the bottom LuaC
   if event.type == "interrupt" then
    port.b = not pin.b
      for x=1, 99, 1 do
       digiline_send("auto", "single")
      end
   end
   interrupt(3+heat)

   -- This forces the Autocrafter to craft as much as it can at once
   -- The last line determines how often to send another craft signal
   -- Currently no on/off functionality

   remove this line to start
